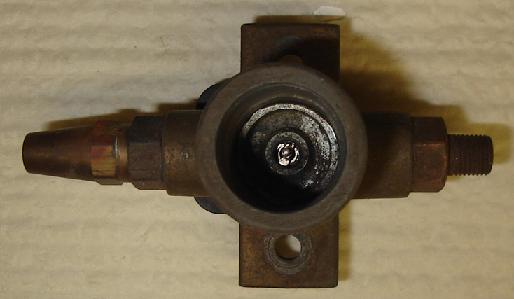
Fig. 1
The only failure I have seen in the regulator is a piece of dirt gets stuck in the valve and the regulator can not regulate the out let pressure. The air pressure then goes very high and the piston and associated parts are blown out on the floor or road.
It is important to not manually pressurize the reservoir with an air hose before you clean the regulator. If you have already pressurized the reservoir then do not run the compressor.
The following is a description of how to clean the regulator and put it back together after it has self destructed.
If your regulator has a yellow cap on it, it is still intact but you should clean it any way to prevent problems.
In Fig.1 shows the inside of a regulator with the piston and associated parts missing. If yours is intact do not try to take it apart. Just clean what you can.
Fig. 1
Fig.2 shows what is under the yellow cap. This is also intact and usable. Do not try to take it apart.
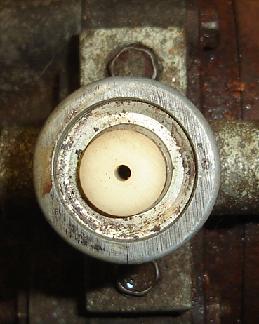
Fig. 2
Fig.3 shows the parts that reside in the bore. The retaining ring is not shown. Your O ring will most likely be red.
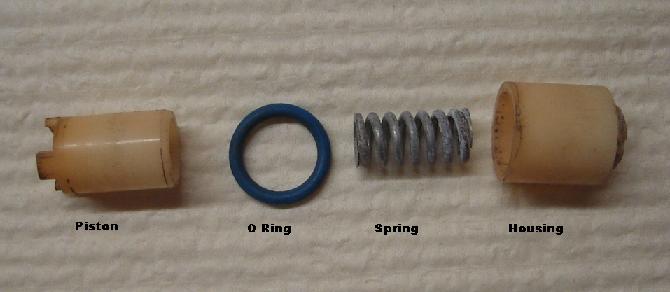
Fig. 3
The first step in cleaning is to remove the screen. You can pry the screen off using a thin bladed screwdriver as shown in Fig.4.
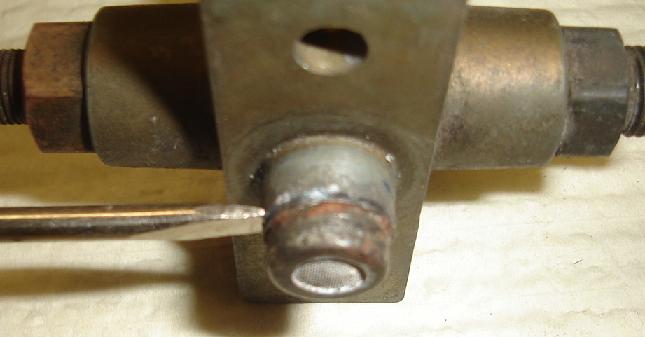
Fig. 4
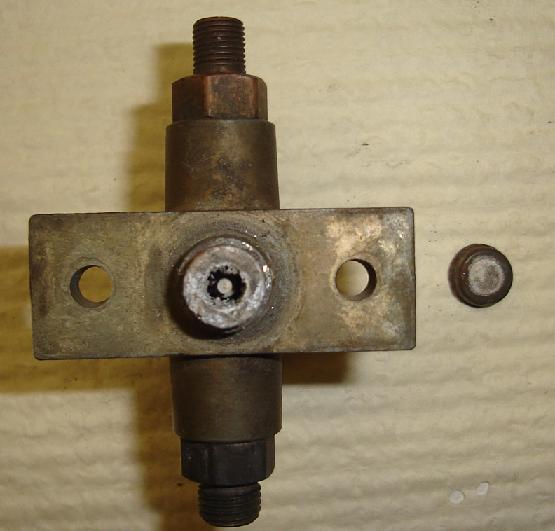
Fig. 5

Fig. 6
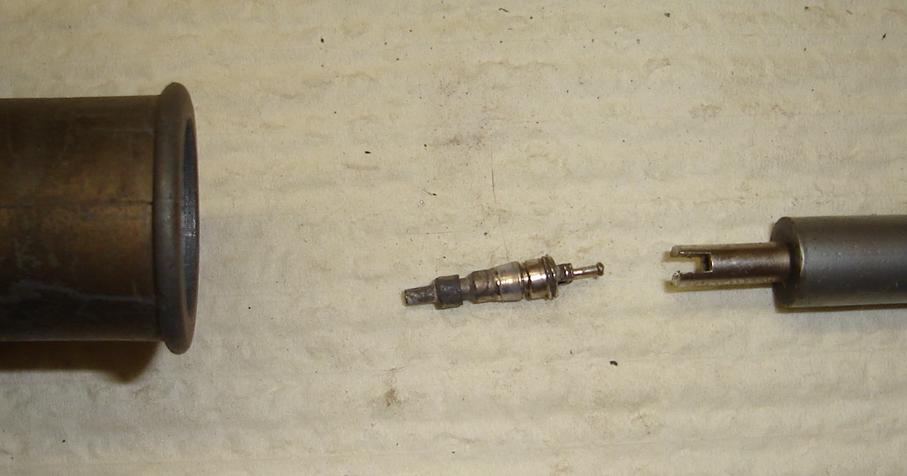
Fig. 7
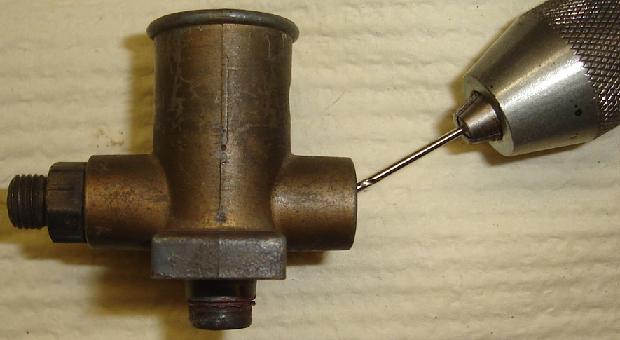
Fig. 8
After the screen bore is clean put some paint on the walls to prevent more corrosion. I apply the paint with a tooth pick or other small stick. Make sure no paint gets into the valve.
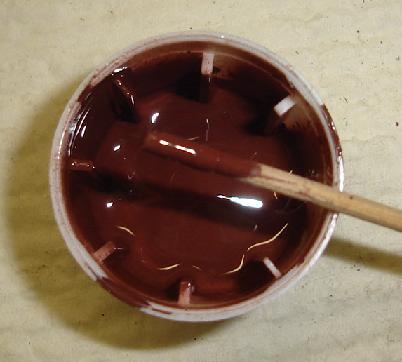
Fig. 9
After the paint dries put it all back together. Us a leather mallet or other soft hammer to install the screen. If the piston etc. is out us a small gear puller to press it into the bore. Fig. 10 shows a gear puller with a small socket to push the retaining ring in. I also used a 1/4" bolt to fill the hole in the back of the socket so the puller screw would not fall into the hole. Do not push it in too far. You can tap it in with a hammer but again be careful not to press it in too deep. The deeper the retainer is pushed in the higher the regulated air pressure is. You do not want to exceed 125 PSI.
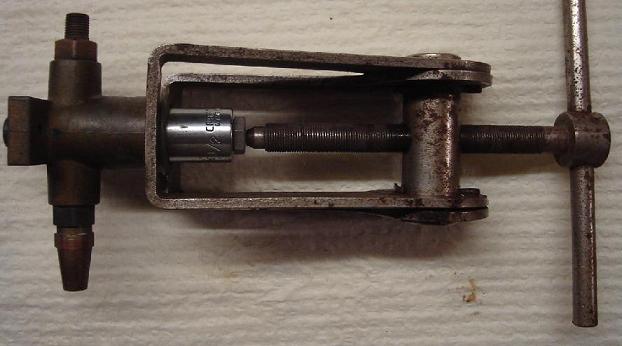
Fig. 10
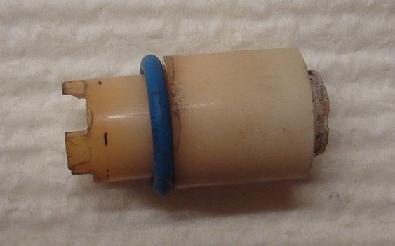
Fig. 11